|
|
 04-01-2012, 06:37 PM
|
#141 | |
|
Senior Member

Join Date: Jun 2011
Location: Sunshine Coast
Car: MPS
Posts: 1,939
|
Quote:
|
|

|

|
|
07-01-2012, 07:17 PM
|
#142 |
|
Senior Member
Join Date: Jun 2011
Location: Sunshine Coast
Car: MPS
Posts: 1,939
|
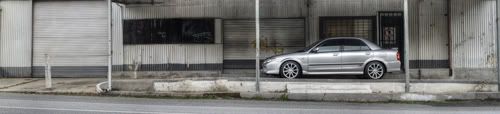
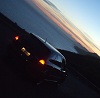
Some new pics.
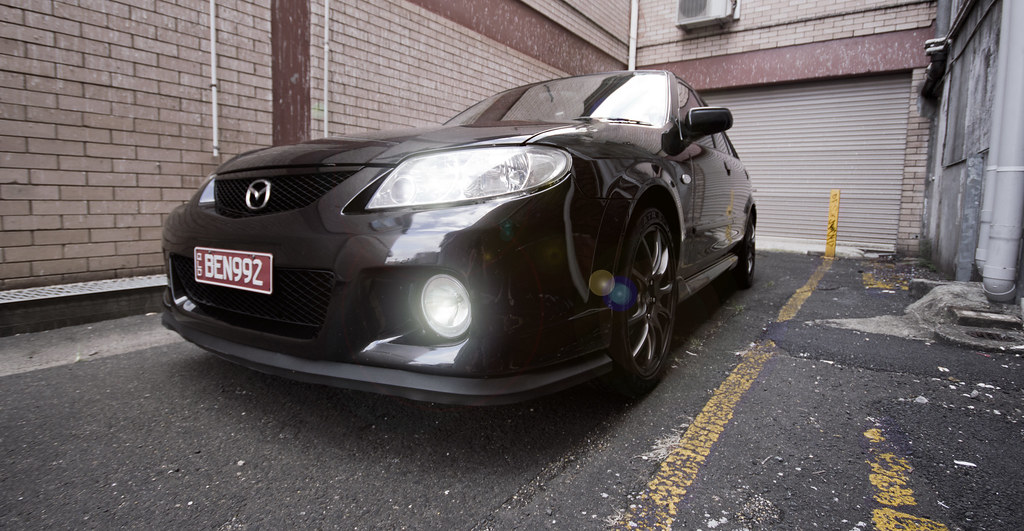 Mazda SP20 by Photographs_by_Ben, on Flickr 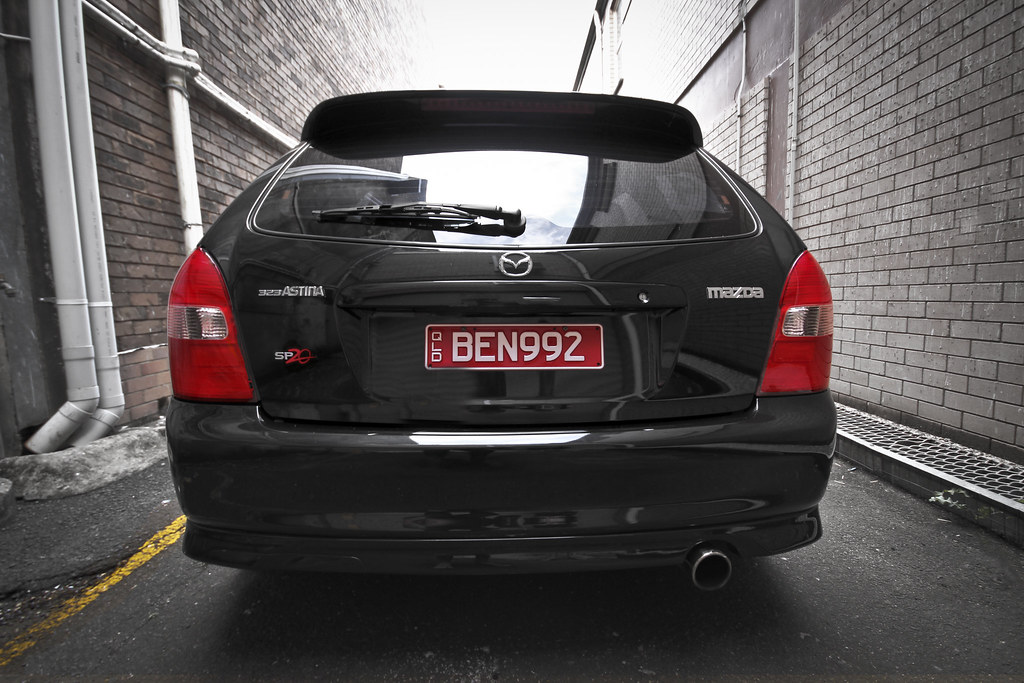 Mazda SP20 2 by Photographs_by_Ben, on Flickr 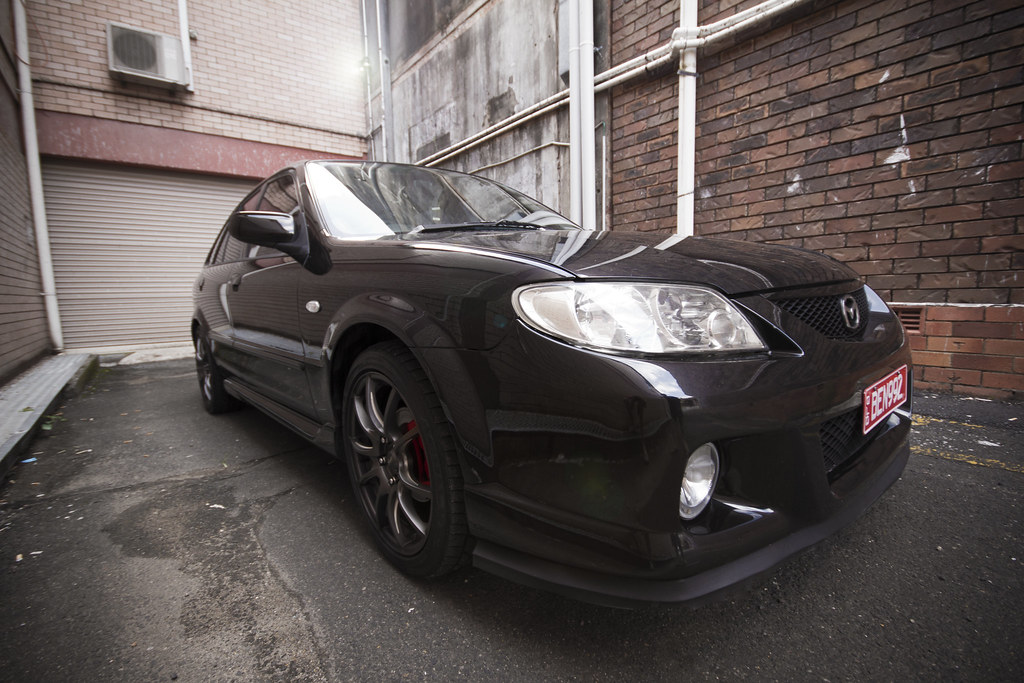 Mazda SP20 by Photographs_by_Ben, on Flickr |
|
|
|
|
08-01-2012, 10:35 AM
|
#143 |
|
Junior Member

Join Date: Aug 2011
Location: Campbelltown, NSW
Car: 2001 Mazda 323 SP20
Posts: 161
|
Hmmm very nice mate! Lip is looking better

|
|
|
|
|
08-01-2012, 01:15 PM
|
#144 |
|
Senior Member
Join Date: Jun 2011
Location: Sunshine Coast
Car: MPS
Posts: 1,939
|
Thanks Chris, i hit it with the heat gun and got out all the wrinkles, looks much better!
|
|
|
|
|
11-01-2012, 04:21 PM
|
#145 |
|
Senior Member
Join Date: Jun 2011
Location: Sunshine Coast
Car: MPS
Posts: 1,939
|
Got my bumper brackets thanks to Darryl!
Before, could fit a finger in the gap easily   During: Love to destroy. Also 10 ton of leaves fell out as you can see. One of the plastic clips was completely snapped and it fell out when i took the bumper off.  After: 
Last edited by Ben; 25-05-2012 at 07:57 PM. |
|
|
|
|
13-01-2012, 04:03 PM
|
#146 |
|
Junior Member

Join Date: Feb 2011
Location: Central Coast
Car: MY06 XT Forester/04 VY II Calais
Posts: 119
|
I want to turn your bumper over... Did it get scratched whilst on the concrete?!
Makes a big difference! Looks good
__________________
 |
|
|
|
|
13-01-2012, 07:22 PM
|
#147 | |
|
Senior Member
Join Date: Oct 2009
Location: Adelaide, Australia
Car: 07 Subaru Liberty GT Spec B tuned by STi
Posts: 912
|
Quote:
 Huge difference, your gap looked like it was worse than mine!
__________________
|
|
|
|
|
|
20-01-2012, 07:23 PM
|
#148 | ||
|
Senior Member
Join Date: Jun 2011
Location: Sunshine Coast
Car: MPS
Posts: 1,939
|
Quote:
Quote:
|
||
|
|
|
|
14-02-2012, 10:39 AM
|
#149 |
|
Senior Member
Join Date: Jun 2011
Location: Sunshine Coast
Car: MPS
Posts: 1,939
|
Installed my RDA rotors yesterday and some new pads!
 Before:  After:  
Last edited by Ben; 25-05-2012 at 07:58 PM. |
|
|
|
|
14-02-2012, 10:51 AM
|
#150 |
|
Senior Member
Join Date: May 2011
Location: Tweed Heads
Car: 2002 mazda sp20 hatchback
Posts: 678
|
Looking good Ben
|
|
|
|
|
15-02-2012, 04:13 PM
|
#151 |
|
Senior Member
Join Date: Jun 2010
Location: Sutherland Shire NSW
Car: Was '01 SP20 with FS-ZE
Posts: 717
|
looking good :-)
Did you notice the difference going from standard to slotted? |
|
|
|
|
15-02-2012, 04:43 PM
|
#152 | |
|
Senior Member
Join Date: Jun 2011
Location: Sunshine Coast
Car: MPS
Posts: 1,939
|
Quote:

|
|
|
|
|
|
15-02-2012, 10:27 PM
|
#153 |
|
Junior Member
Join Date: Aug 2011
Location: Campbelltown, NSW
Car: 2001 Mazda 323 SP20
Posts: 161
|
Very nice mate, brakes look great and most importantly work better by the sounds of it!!
If you don't mind me asking how much and where did you get the rotors/pads from...!? Prob something I will have to do in the nearish future...! |
|
|
|
|
15-02-2012, 10:40 PM
|
#154 |
|
obsessed-incomplete-broke
Join Date: Oct 2008
Location: Brisbane
Car: BA Hardtop/Hatch
Posts: 5,441
|
wait until another 20% or free pads deal comes up from GSL rallysport. Postage is cheap via courier, and are great to deal with, bought a few things now from them! its about $400 depending on what you choose. if i were to do it again id recommend what Phil got, the DBA rotors rather than ones like above(RDA), simply because they come with a gold coating which stops them from rusting and looking ugly, ive used both the remsa and QFM pads. i like the remsas more but create a fair bit more dust than the virtually dustless HPX from QFM. (remsas were about $15 more a set?)
|
|
|
|
|
15-02-2012, 10:51 PM
|
#155 | ||
|
Senior Member
Join Date: Jun 2011
Location: Sunshine Coast
Car: MPS
Posts: 1,939
|
Quote:
Quote:
 ah well. ah well. QFM are apparently dustless. Haven't seen any dust yet and the rotors are still looking shiney as they were in the box. Done about 250km so far lol |
||
|
|
|
|
06-03-2012, 10:06 PM
|
#156 | |
|
Junior Member
Join Date: Oct 2011
Location: The Festival State
Car: BJII Protege
Posts: 217
|
Quote:

|
|
|
|
|
|
06-03-2012, 10:33 PM
|
#157 |
|
Senior Member

|
ahahah i had the same problem for ages till db showed me... you like slide it to the side and pull it off
__________________
 To many of us, our cars are an extension of our own personalities, the way we choose to modify reflects this. |
|
|
|
|
07-03-2012, 04:14 PM
|
#158 |
|
Senior Member
Join Date: Jun 2011
Location: Sunshine Coast
Car: MPS
Posts: 1,939
|
Theres a clip you push in, then you slide it the opposite side the clip is and pull at the same time...The clip is really tough generally, so i got a screwdriver (on a rag of course) to hold it in for me while i slid and pulled it outwards. Fiddly job, but once you do it once its easy.
This sounds really dirty... |
|
|
|
|
21-03-2012, 09:19 PM
|
#159 |
|
Senior Member

Join Date: Dec 2011
Location: Adelaide
Car: 2000 Mazda BJI Protege
Posts: 878
|
Car looks awesome Ben
 How did you take/photoshop the picture with the 'clear' bonnet? How did you take/photoshop the picture with the 'clear' bonnet?Loving the red brake calipers haha, makes me want to paint mine now!
__________________
 2010-2014: 2000 Mazda 323 Protege 2014 - 2016: 1991 Toyota MR2 SW20 2016 - Err, 2016: 2002 Mazda 323 Astina SP20 2016 - Err, uh, 2016: 1991 Mazda MX5 NA 2016 - 2017: 2000 Alfa 916 Spider 2017 - 2018: 2007 Alfa Brera 2018 - Current: 2018 Mazda 3 SP25 |
|
|
|
|
21-03-2012, 11:24 PM
|
#160 |
|
Senior Member
Join Date: Jun 2011
Location: Sunshine Coast
Car: MPS
Posts: 1,939
|
Thanks Nick. You take 2 pictures (Not moving the camera at all) one with the bonnet closed and one with it open. Then merge the 2 in photoshop with the bonnet closed one on the top layer. Then select the bonnet with the selection tool, cut it to a new layer, then change the opacity so it looks clear. Super easy.
|
|
|
|
 |
| Thread Tools | |
| Display Modes | |
|
|


 Linear Mode

