|
|||||||


| Register | Readers Rides | Gallery | FAQ | Members List | Social Groups | Calendar | Search | Today's Posts | Mark Forums Read |
 |
|
|
Thread Tools | Display Modes |
|
|
|
|||||||
| Register | Readers Rides | Gallery | FAQ | Members List | Social Groups | Calendar | Search | Today's Posts | Mark Forums Read |
|
|
|
Thread Tools | Display Modes |
 09-10-2011, 04:05 PM
|
#101 |
|
Senior Member
 
Join Date: Sep 2004
Location: n/a
Car: n/a
Posts: 10,929
|
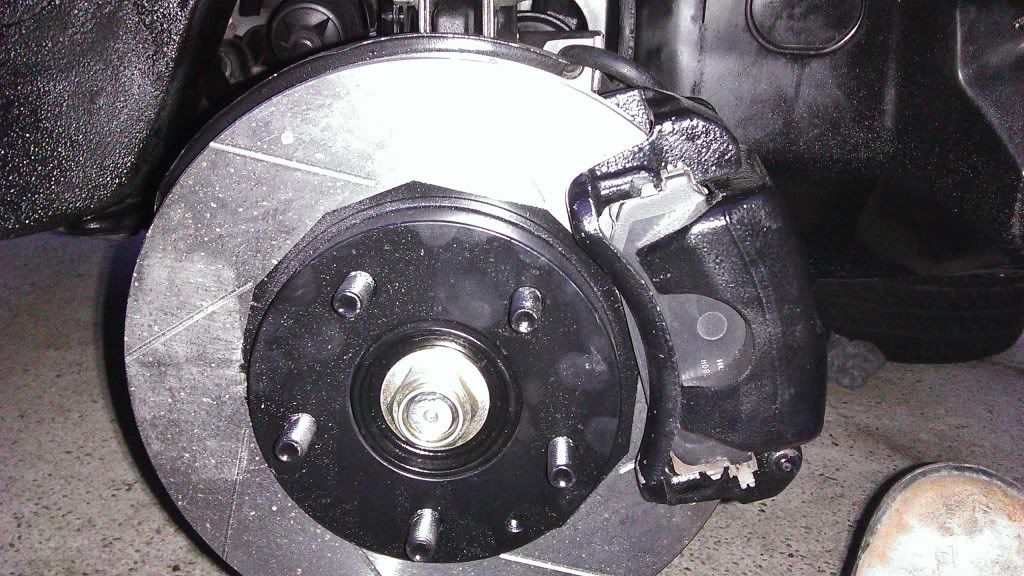
Also that is a drivers side rotor on the passenger side in that pic.
|

|

|
|
09-10-2011, 04:13 PM
|
#102 |
|
Senior Member
Join Date: Sep 2004
Location: n/a
Car: n/a
Posts: 10,929
|
Better found now than when both had been put on.
|
|
|
|
|
09-10-2011, 04:28 PM
|
#103 |
|
Senior Member

Join Date: Jun 2011
Location: Sunshine Coast
Car: MPS
Posts: 1,939
|
So clean and shiney! Did you paint the guard? seems very black, or just a ridiculous good clean?
|
|
|
|
|
09-10-2011, 04:32 PM
|
#104 |
|
Senior Member
Join Date: Aug 2009
Location: QLD
Car: ......
Posts: 952
|
Holden use black caps over wheel nuts.
|
|
|
|
|
09-10-2011, 04:44 PM
|
#105 |
|
obsessed-incomplete-broke
Join Date: Oct 2008
Location: Brisbane
Car: BA Hardtop/Hatch
Posts: 5,441
|
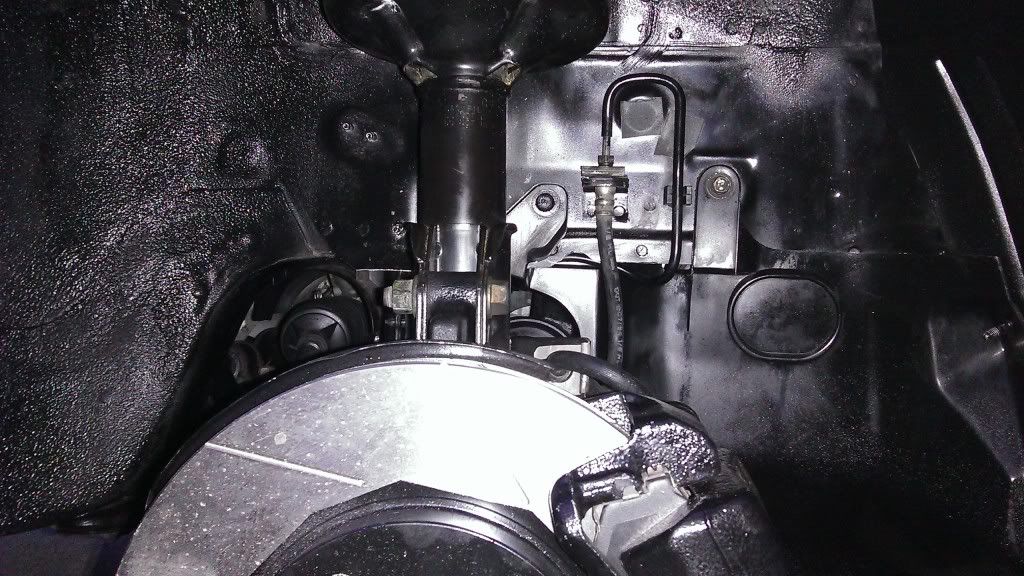
a good clean. took about 2-3 hours to clean them both. even polished the brake line clips which you cannot see. there is 0 oil, grease and grime anywhere near the brakes now. next attack will be on the sump, which the seals need to be replaced... the question is, where do I stop!!! Once the brakes are done, I need to get the bushes done, which I know, should have been done at the same time, I need a break and save some money for the panel repair. as long as I get the car registered near Christmas Id be happy. it just depends on what comes up before then.
|
|
|
|
|
09-10-2011, 06:03 PM
|
#106 | |
|
Senior Member
Join Date: Sep 2004
Location: n/a
Car: n/a
Posts: 10,929
|
Quote:
|
|
|
|
|
|
09-10-2011, 08:59 PM
|
#107 |
|
Senior Member
Join Date: Sep 2004
Location: n/a
Car: n/a
Posts: 10,929
|
when i say some. i need about 15-20 to redo all the front wheel arch ones.
|
|
|
|
|
17-10-2011, 09:01 PM
|
#108 |
|
obsessed-incomplete-broke
Join Date: Oct 2008
Location: Brisbane
Car: BA Hardtop/Hatch
Posts: 5,441
|
as per today thread...
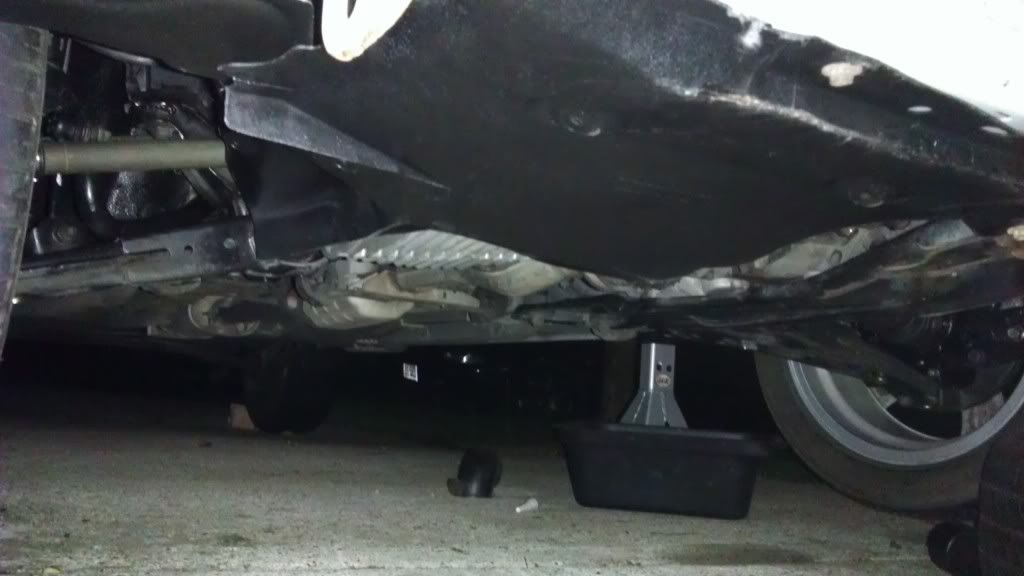
tried out the plastic cutter on my soldering iron today, Im 100% sure it is NOT designed for this task but worked as well as I had hoped...forgot to take a photo of before, but it had a 10-15mm gap in the middle, cracked the whole way along... 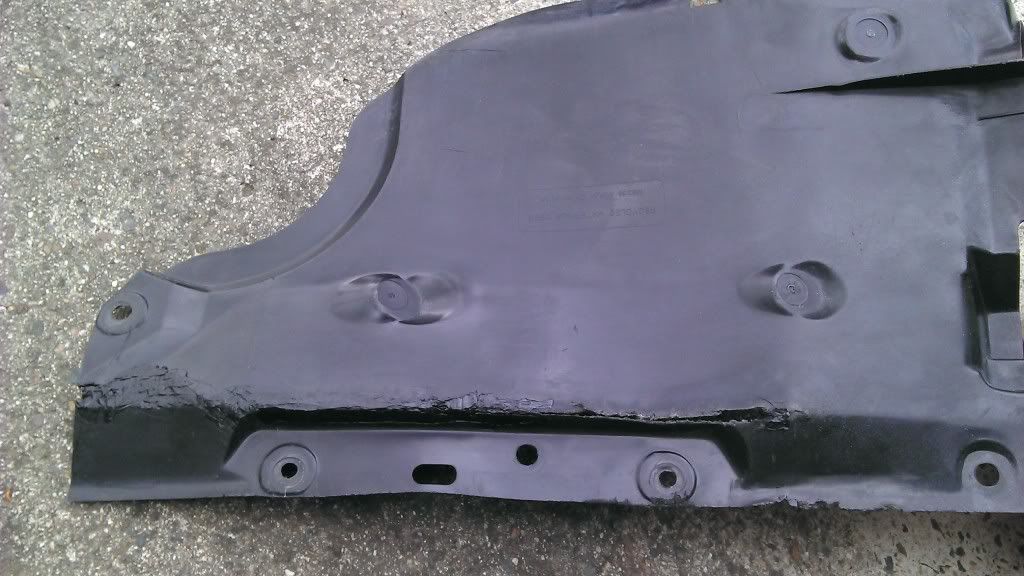 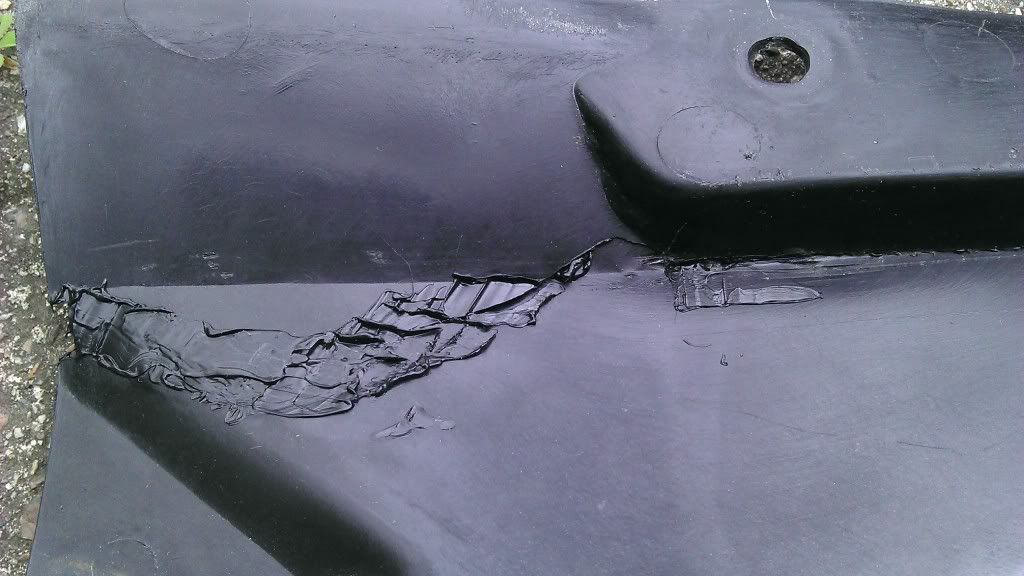 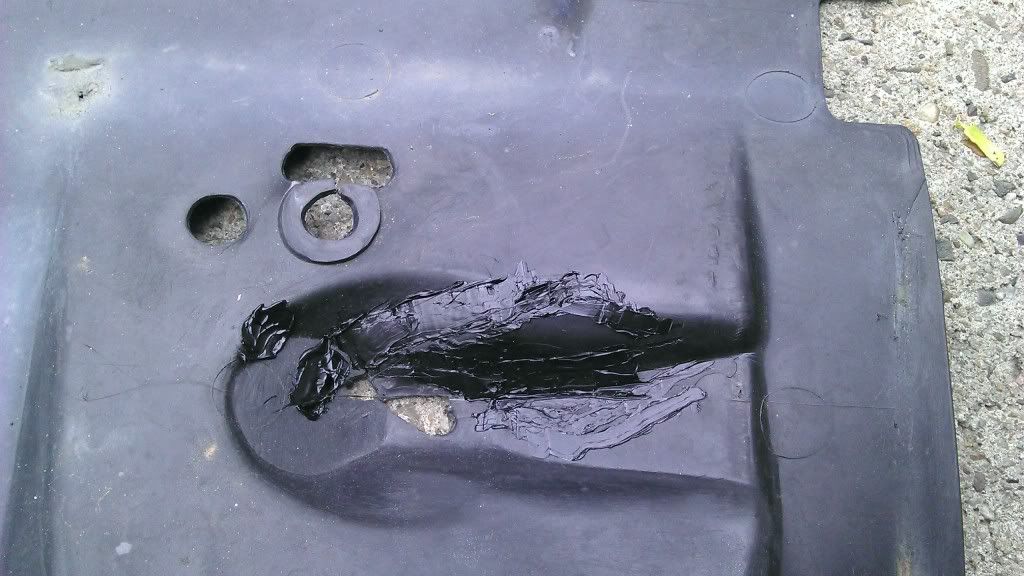 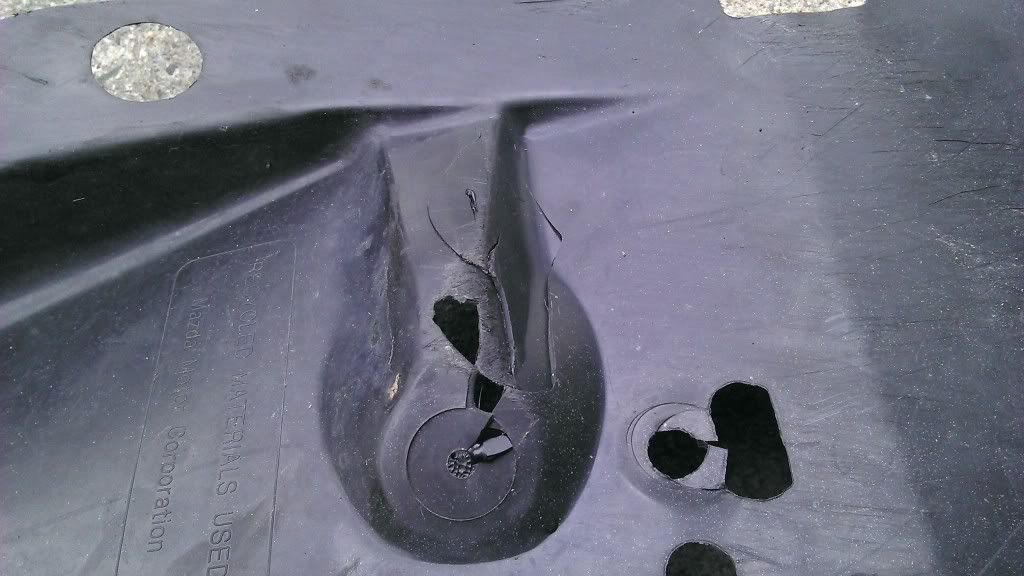 So, after bolting the plastic back on the bolts were grey, so with a sharpie I changed that. 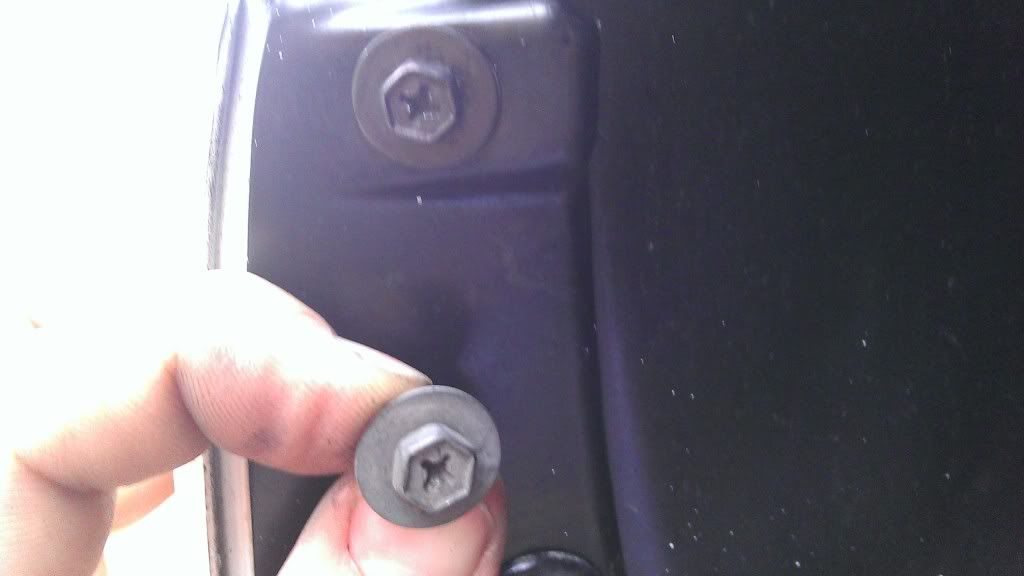 Much better also did some under-engine cleaning, it still looks dirty in the photos I'll get it tomorrow! 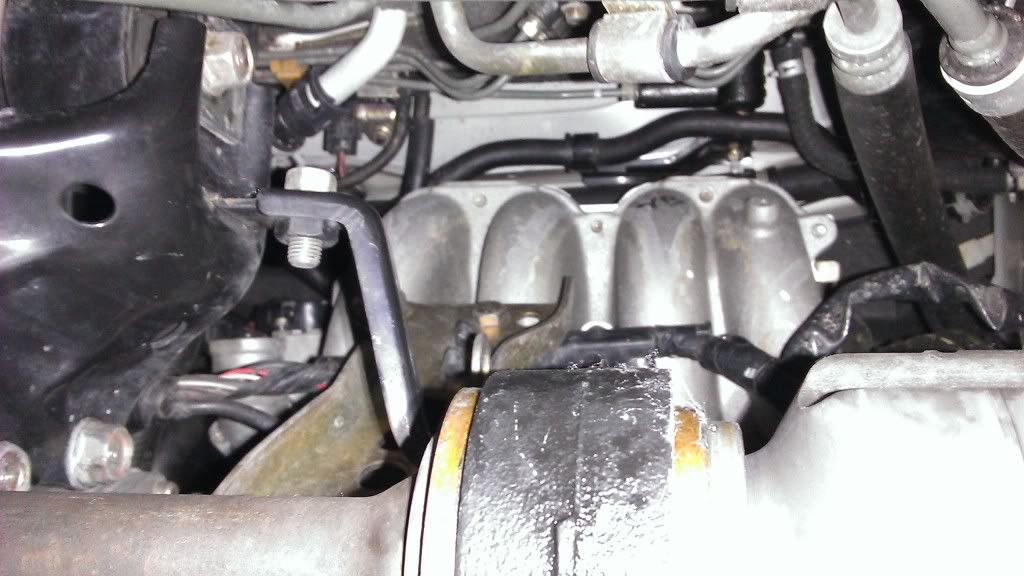 power steering was black and now its not. yay.  Aircon compressor was also black, now its not either... 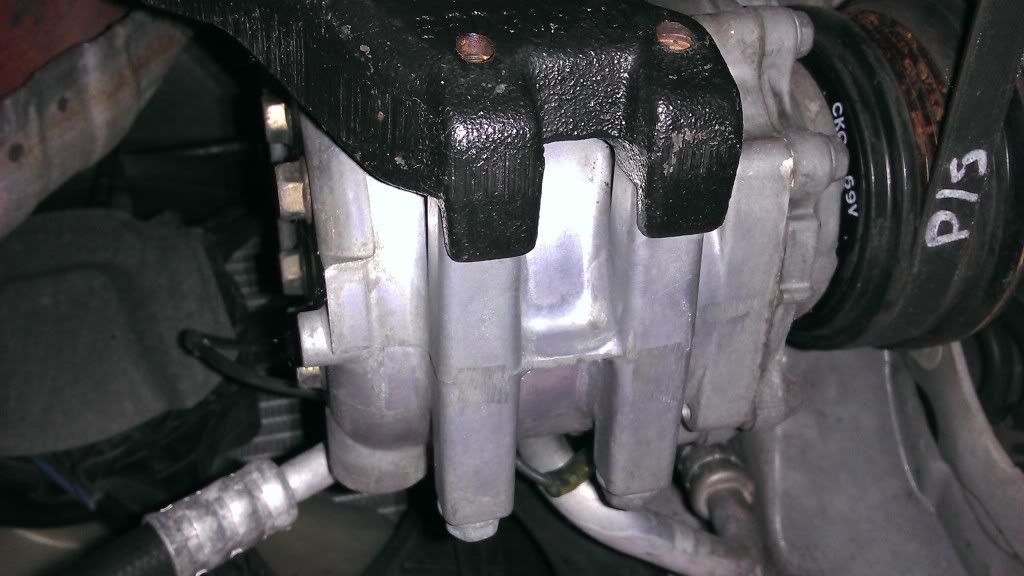 cleaner sump: 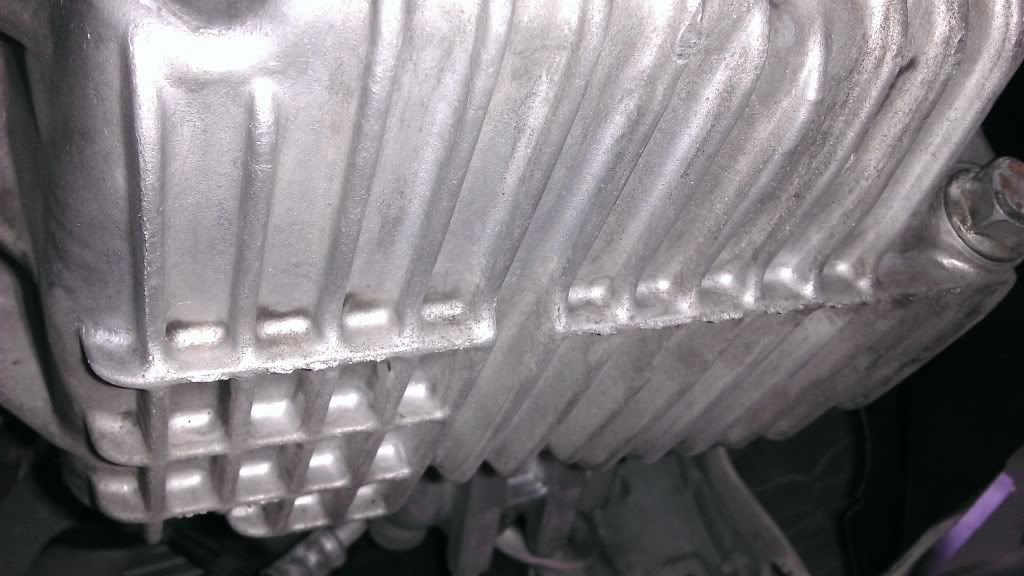 cleaned the gearbox too. 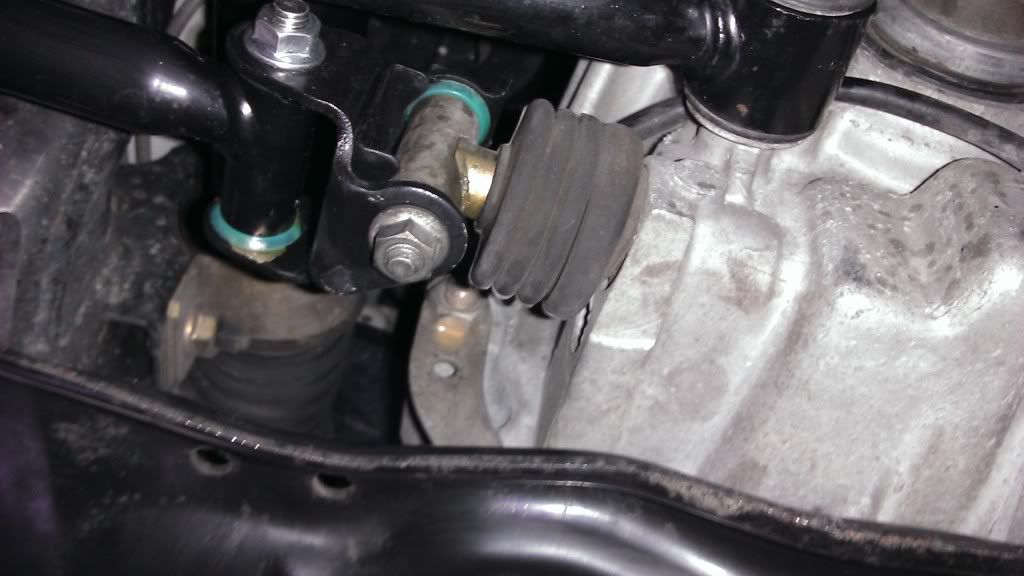 looking OK for a job done by me I guess... 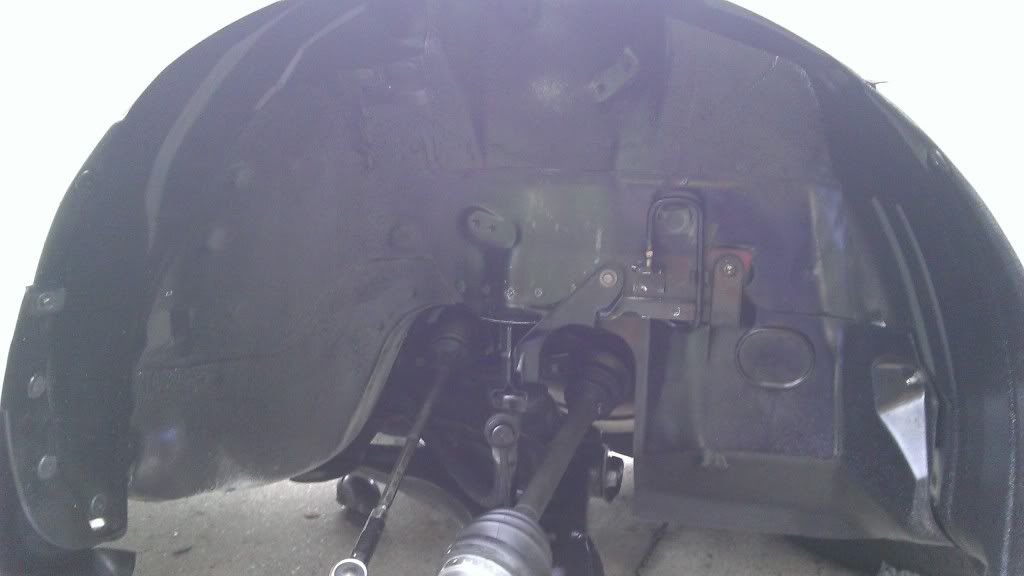 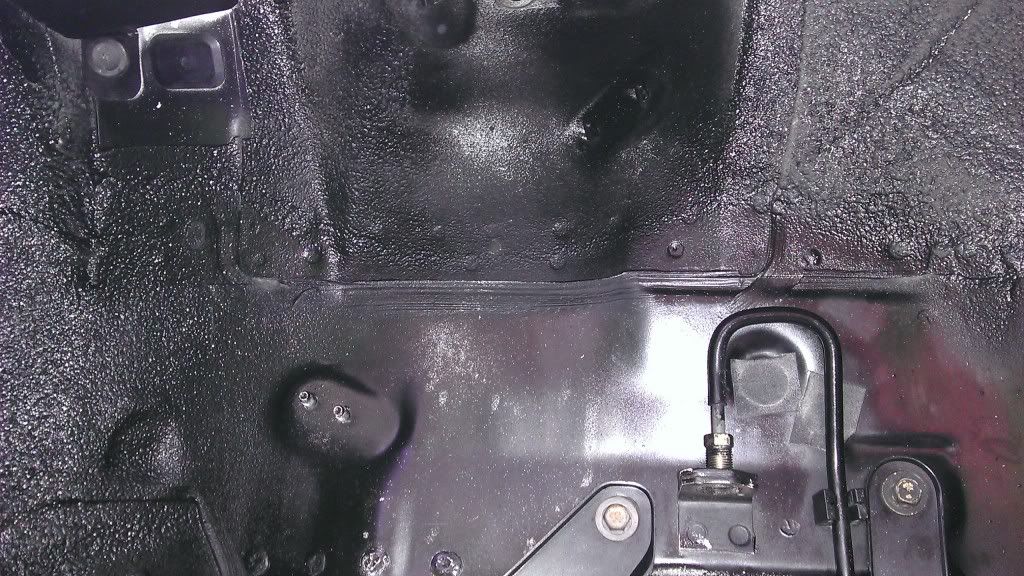 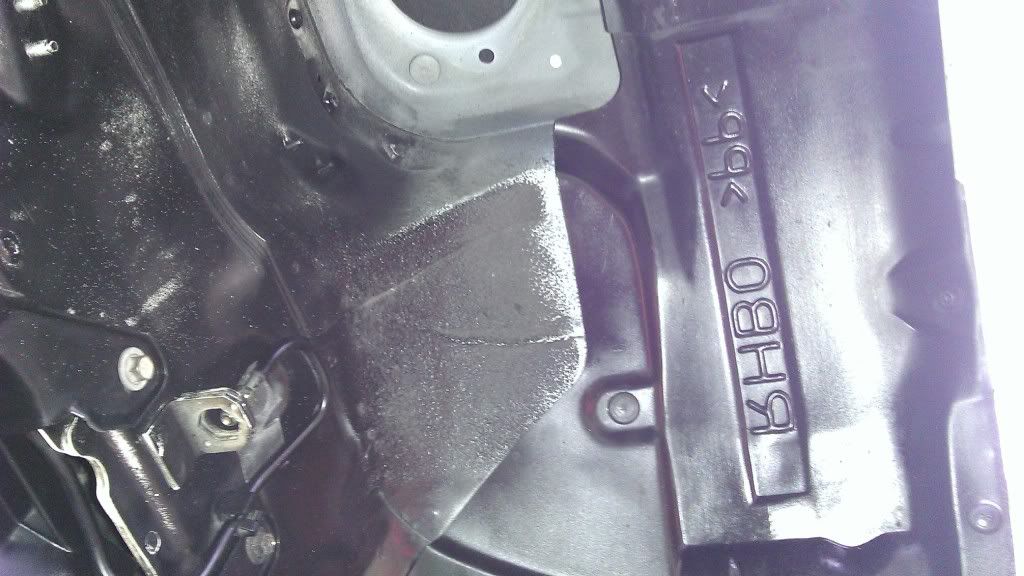 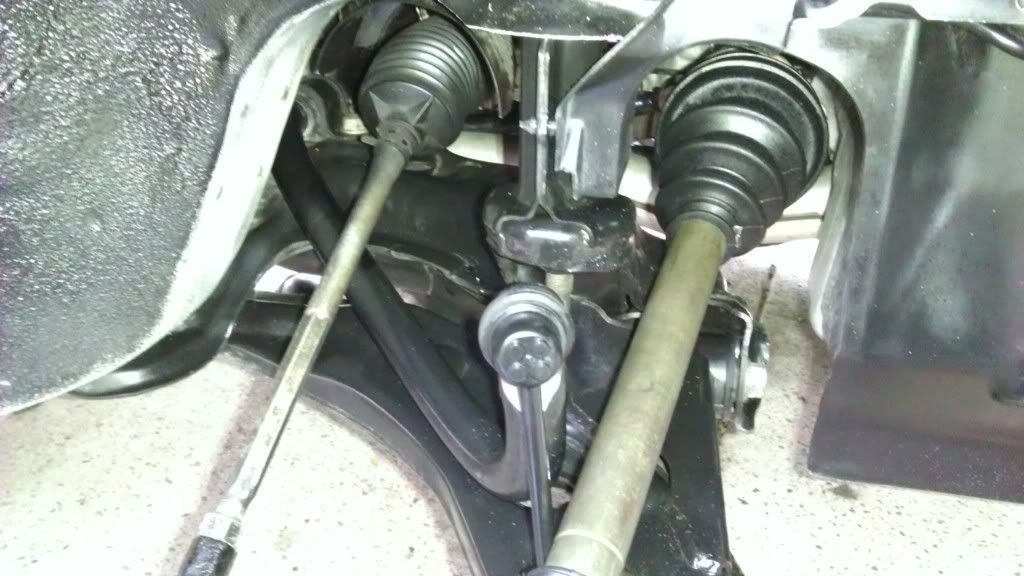  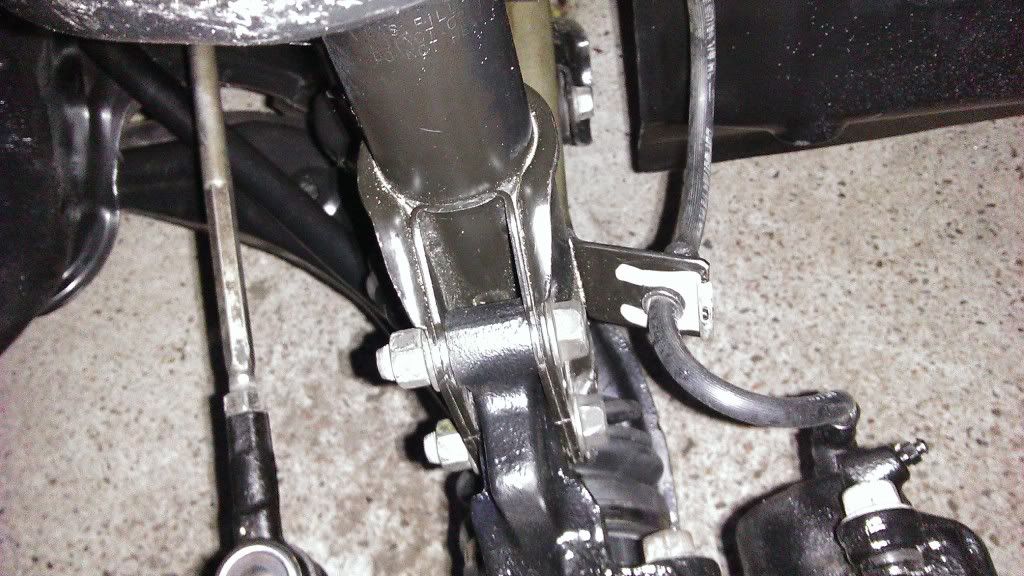 and now its going to tell me theres a limit of 20 pictures I bet. correct. 26. sigh this camera is a bit hit and miss at night... |
|
|
|
|
17-10-2011, 09:43 PM
|
#110 |
|
Banned
Join Date: May 2006
Location: Brisneyland, Queensland
Car: 2002 Mazda Frankenstina
Posts: 2,868
|
OMFGWTF.
Obsessed. Can I bring my car over to your place for you to clean if for me?? |
|
|
|
|
17-10-2011, 11:08 PM
|
#112 |
|
Banned
Join Date: May 2006
Location: Brisneyland, Queensland
Car: 2002 Mazda Frankenstina
Posts: 2,868
|
Stupid apprentice wages.
|
|
|
|
|
17-10-2011, 11:13 PM
|
#113 | ||
|
Senior Member

Join Date: Oct 2009
Location: NSW
Car: 1998 Toyota Supra 3.0L Twin Turbo
Posts: 1,413
|
Quote:
Quote:
*sigh*... doesn't help fuel these projects does it mate? 1 week till engine rebuild on my car. Then i might get all OCD with the minor details like you are 
__________________
 1996 Mazda 323 Astina BA Hatch 1.8L - No Longer Mine 
|
||
|
|
|
|
20-10-2011, 08:22 PM
|
#115 |
|
obsessed-incomplete-broke
Join Date: Oct 2008
Location: Brisbane
Car: BA Hardtop/Hatch
Posts: 5,441
|
a teeny tiny bit more. im suprised I'm still happy to do 5 hours of work on this thing every day. doesnt look it hey... I'm probably the worlds SLOWEST DIY mechanic, but its nice not to have any deadlines (other than the looming end of the month everything must magically dissapear from the garage/driveway...)
so heres a bit more progress. had to cheat in some spots and use paint as I wore off the thin black coating, but its pretty clean now  Ill have the other side apart stripped and painted, then saturday morning will hold the final cleaning session and then I can bleed the brakes and take it for a test drive, unless its wet and will make all my hard work dissapear! 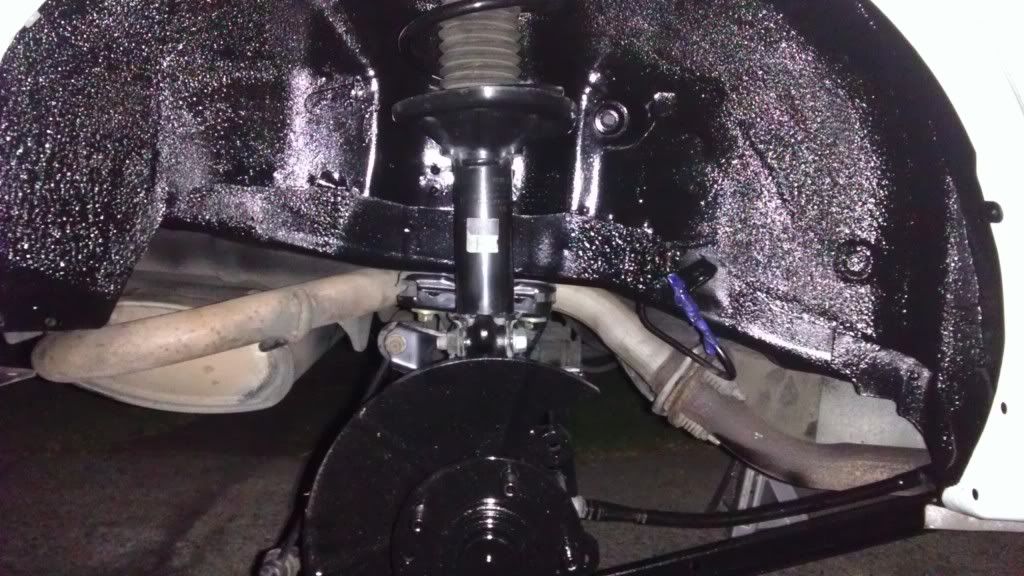 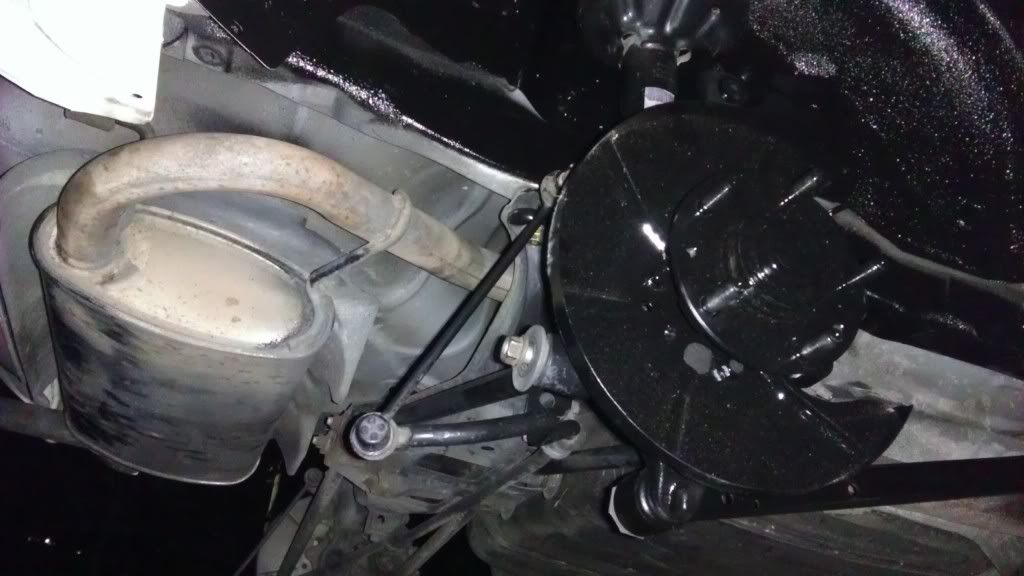 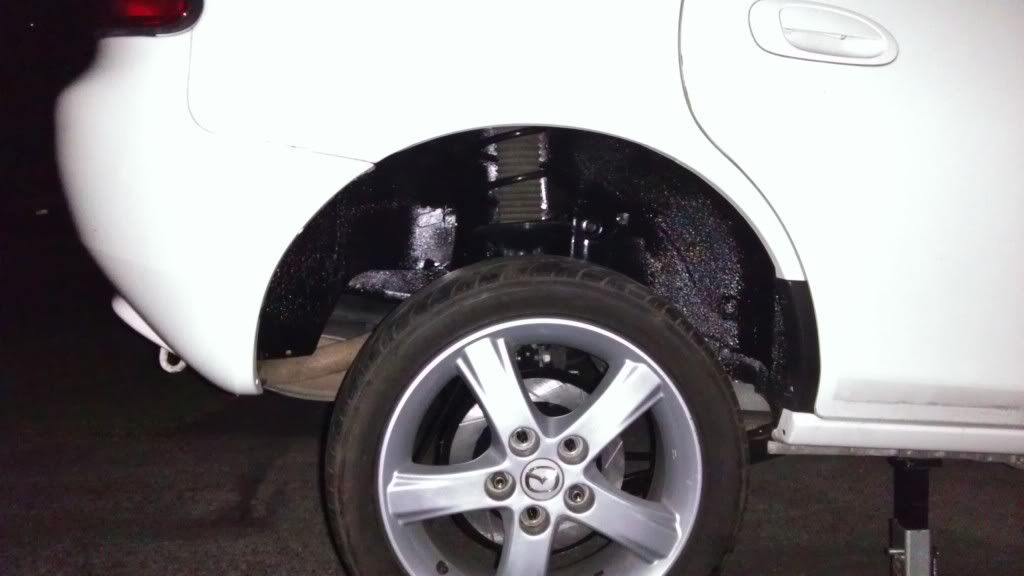 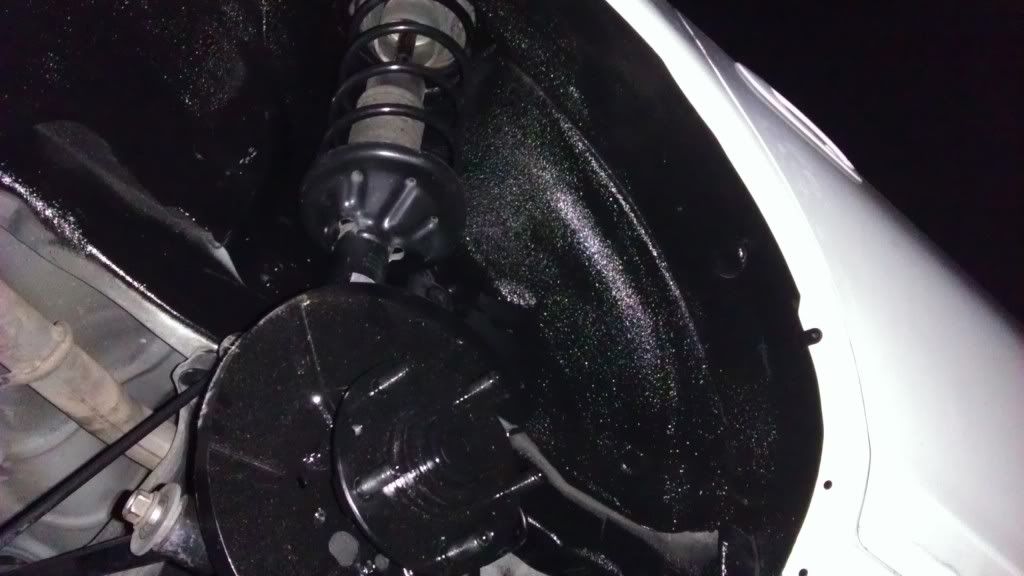 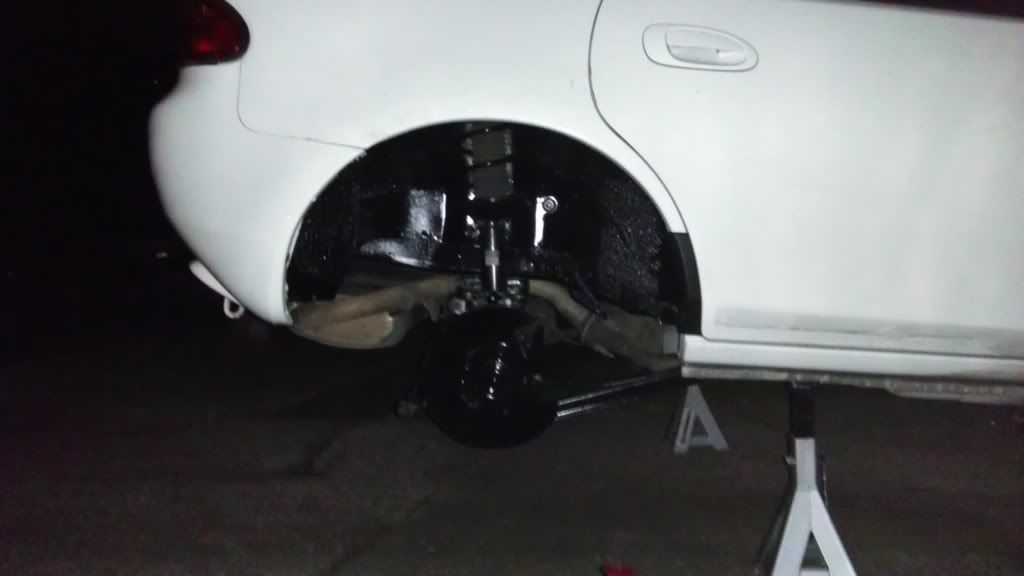 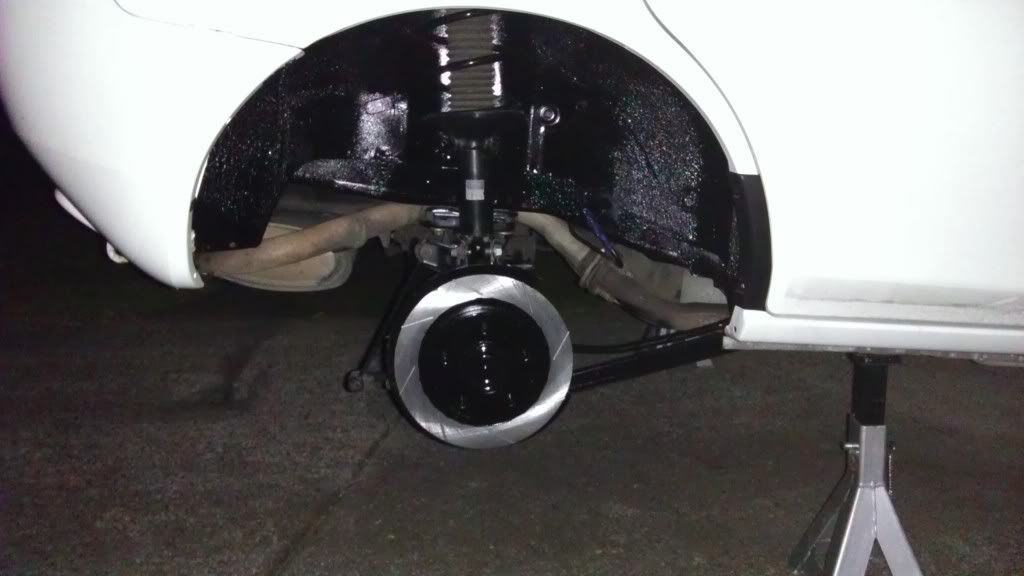 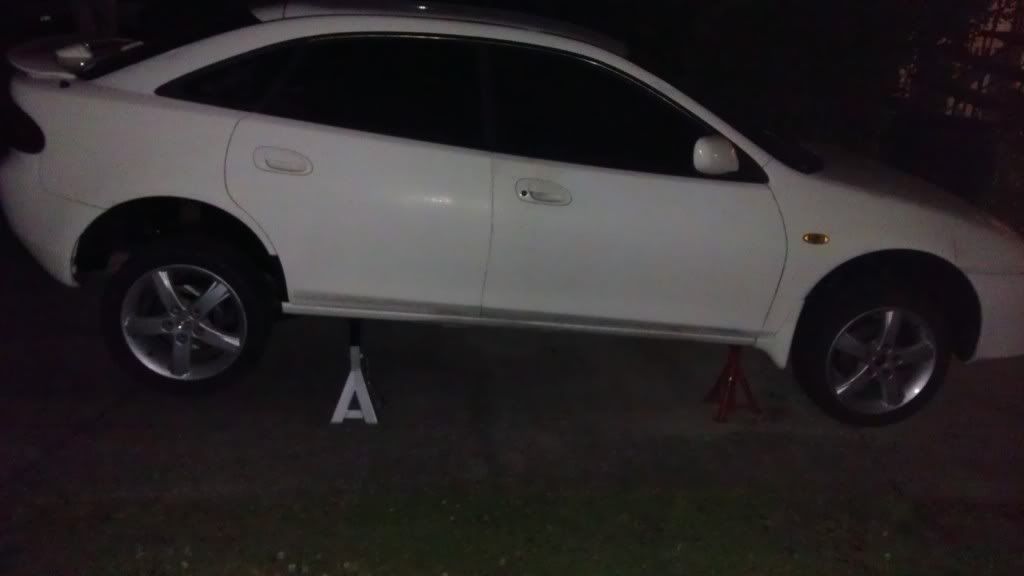
|
|
|
|
|
20-10-2011, 11:13 PM
|
#116 |
|
Senior Member
Join Date: Jun 2011
Location: Sunshine Coast
Car: MPS
Posts: 1,939
|
Far out, this is becoming ridiculously too clean!
|
|
|
|
|
20-10-2011, 11:20 PM
|
#117 |
|
Senior Member

Join Date: Apr 2011
Location: Brisbane, QLD
Car: 2000 BJ Protege
Posts: 714
|
And that's coming from a guy who polishes his car to make it even shinier than it already is =D
But seriously, it looks awesome. |
|
|
|
|
31-10-2011, 09:08 PM
|
#118 |
|
obsessed-incomplete-broke
Join Date: Oct 2008
Location: Brisbane
Car: BA Hardtop/Hatch
Posts: 5,441
|
Update for the last few days:
slowly working my way around the car polishing the paint which feels an awful lot like sandpaper into a glossy new car look. takes ages by hand but I cannot justify owning a motorised one! installed clear side indicators:  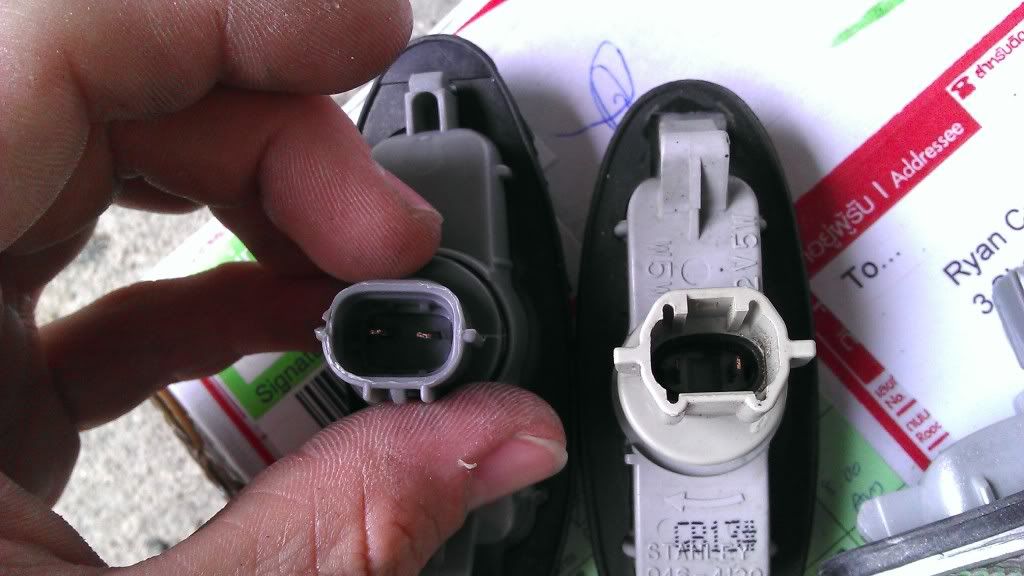 different plugs and tabs required two large ones taken off the original plug, nothing a bit of sandpaper couldnt solve! 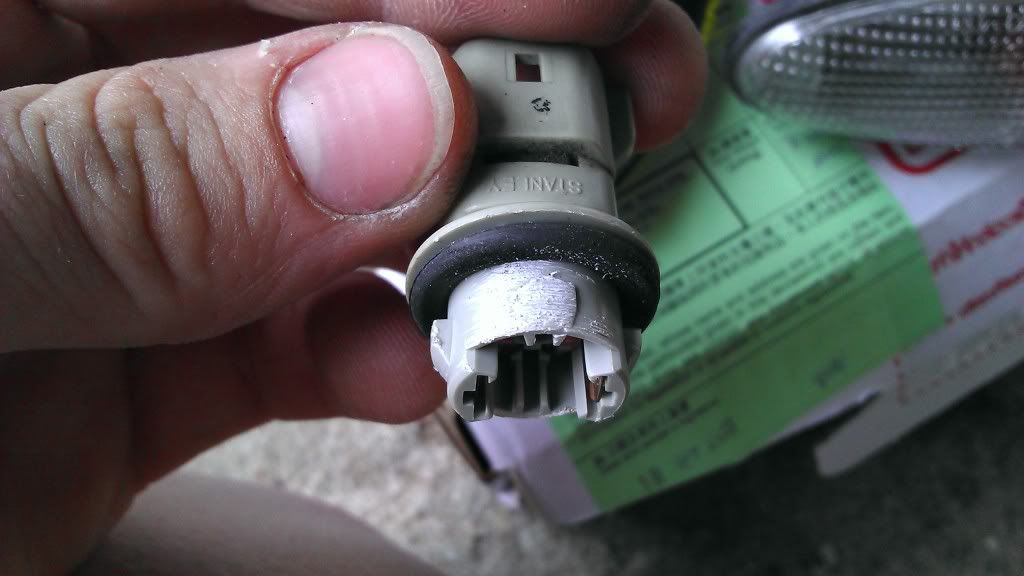 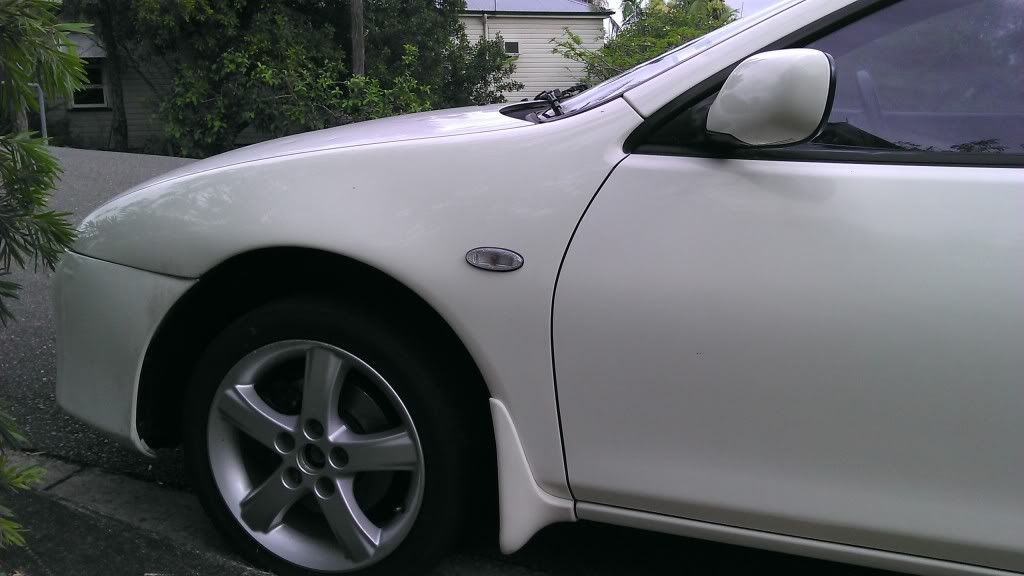 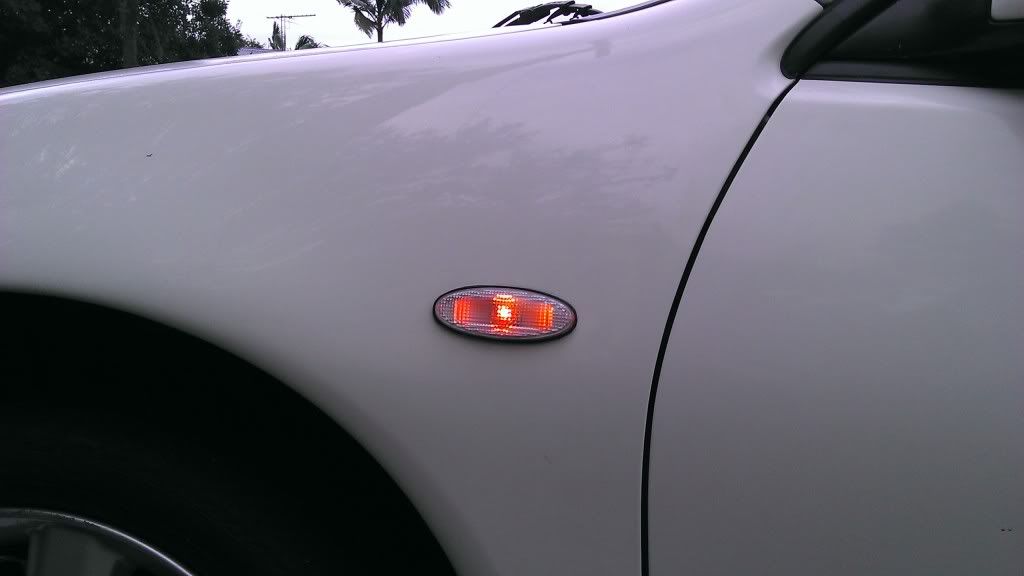 stripped tint off the windows as it was purple and bubbling. half done:  will take more once finished. amazingly the glue came 99% off with the tint, so cleanup will take a few minutes  the back screen was an entirely different story. the back screen was an entirely different story.cleaned some more  got a flat tyre -SORRY MARC! somewhere round the block it seems I've inherited marcs tyres and luck. oops. |
|
|
|
|
31-10-2011, 10:18 PM
|
#119 |
|
Senior Member
Join Date: Jun 2011
Location: Sunshine Coast
Car: MPS
Posts: 1,939
|
Got the same ones as me. Had the same problem, different plug. I melted the actual indicator to fit the stock indicator plug in. Worked well. I didnt even think of sand paper haha.
|
|
|
|
|
31-10-2011, 10:35 PM
|
#120 |
|
Moderator

Join Date: Oct 2005
Location: Ipswich, Queensland
Car: 2002 Mazda Astina SP20 2006 Mazda 6 GY Wagon
Posts: 9,769
|
I had the same problem with my side indicators & the same with the Laser, I ended up using the existing bulb holder & just replaced the bulb, but it actually looks like the prongs are in different spots altogether
 All good about the tyre, reason I wasnt using them was cause of the lack of actual tread
__________________
 ![[URL="http://www.astinagt.com/forums/vbpicgallery.php?do=view&g=590"]](image.php?s=c2e663a9349cc19e304614ce020bca80&u=1216&type=sigpic&dateline=1355019352) |
|
|
|
|
| Thread Tools | |
| Display Modes | |
|
|


 Linear Mode

