|
|
|
|
#1 |
|
Senior Member
|
bjII protege 1.8 tree hugger
been lurking for a while now so guess its build thread time.
we bought a 1 owner protege with 100000km and full service history in late july 2009. we fitted bravo clear side indicators on the delivery day as they didn't fit our ford(original plan) all went smoothly until 23/12/2009 protege + tree on tight left hand bend with pea gravel = FAIL 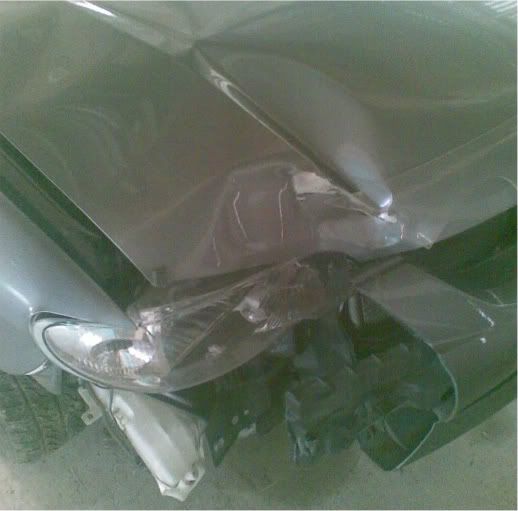 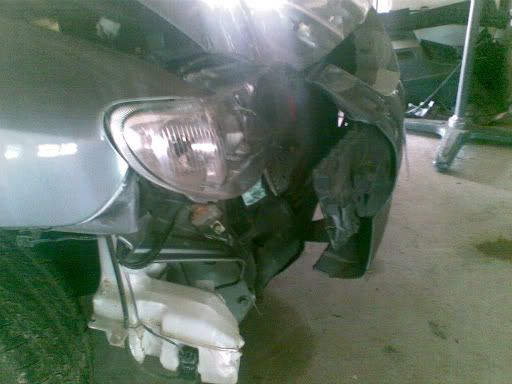 after a 6 hour walk(no reception) we got help and with their cruiser the corner was pulled out enough to get the subframe off the harmonic balancer. this allowed us to start the car and drive out on park lights at 1.00am, once we got back to the main road our savior went back home and we slept in the car. at dawn we drove home to survey the damage 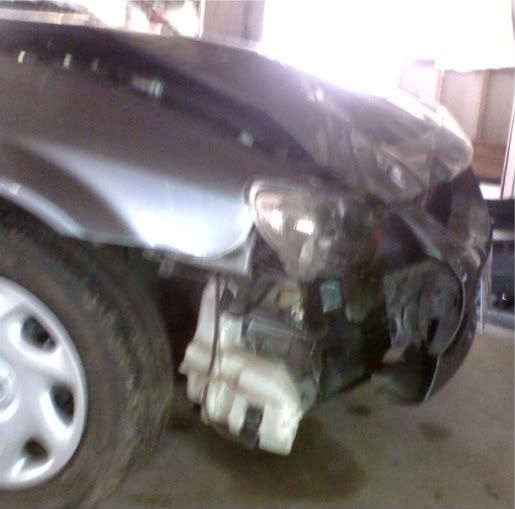 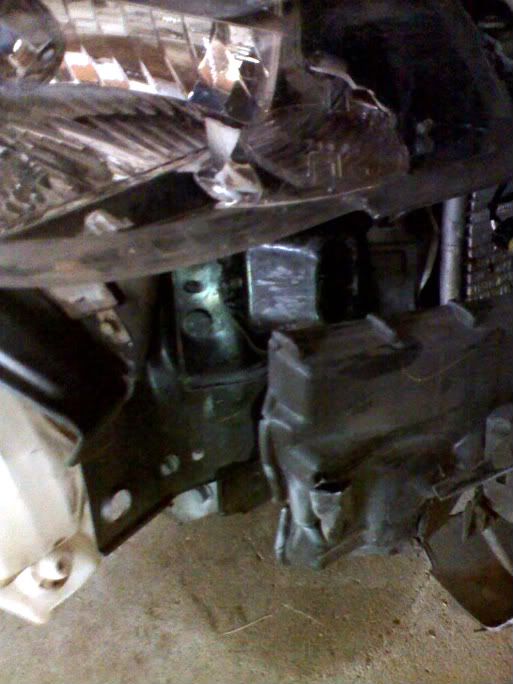 the radiator was bent like a banana but didn't leak, condenser and aircon compressor was also killed 
Last edited by JDM323; 13-01-2012 at 09:30 PM. |
|
|

|
| Sponsored Links |
|
|
#2 |
|
Senior Member
|
so next thing was to remove the damaged parts ready for the panel-beater tocome and check it out
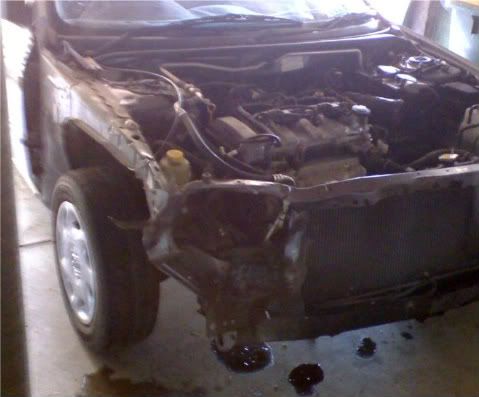 right hand clip was to be replaced(last one in mazda stocks), the radiator support panel, bumper,reinforcing, crush can,bonnet,fender,headlight,radiator,condenser,pow er steering cooling pipe,aircon compressor and both guard liners as the decision had been made to use sp20 bumper. after almost 12 months of sourcing parts and saving the parts were gathered and the car went off to the panel-beaters. well doctor do you think you can save this one =) so the surgery begins   nice kink there after 7 months between other jobs and some disassembly/reassembly from me i get called to the workshop to find my car in this state 
Last edited by JDM323; 13-01-2012 at 10:00 PM. |
|
|

|
|
|
#3 |
|
Senior Member
|
bjII protege 1.8 tree hugger
trailered the car home to prepare for roadworthy mainly a good clean up and to finally get tyres for the rims that were bought 19/12/2009 but luckily never fitted
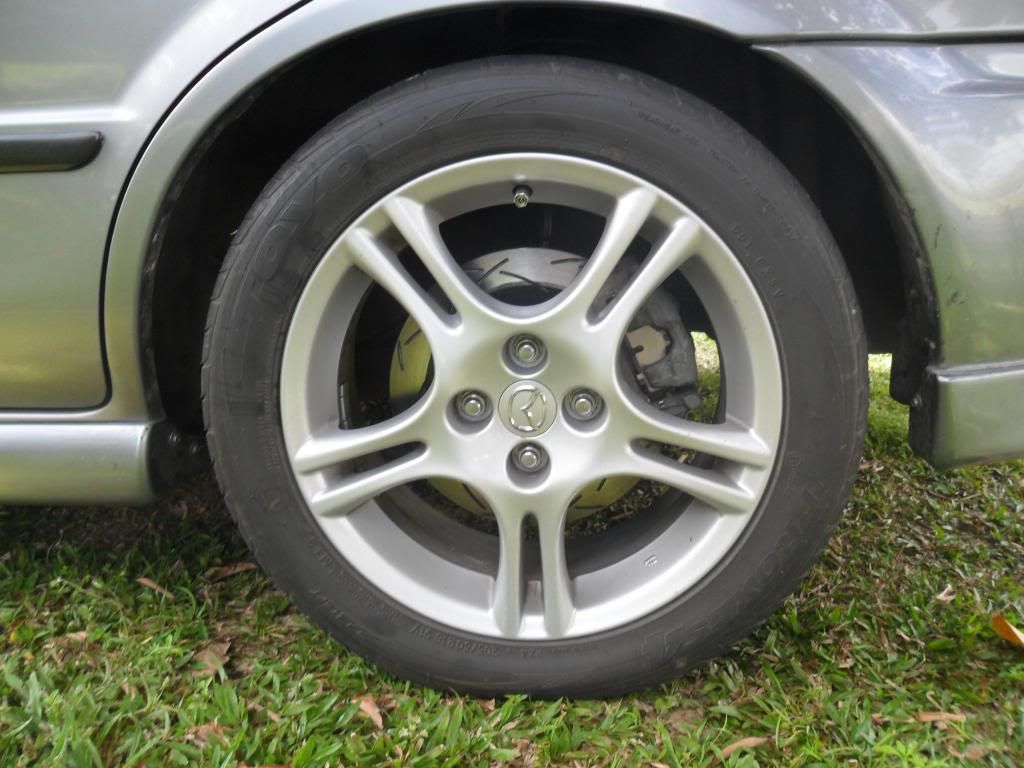 stock mx5 16" that got wrapped in 205/50r16 toyo proxes4. with roadworthy passed and rego paid it was time to chase up the sp20 skirts, rear lip and fog lights. these were all found and purchased (thank you rupe) the rear lip however was for an astina as no sedan ones around at the time so had to do plastic surgey with a piece of 89 fairlaine bumper. while washing the car i noticed a puddle under the clutch pedal which turned out to be cracking spot welds so back to the panel-beaters to have these welded up and the skirts, rear lip, tail light housings, headlight garnish+reflectors, stereo surround, shifter/cup holder surround and part of the console in front of the cup holders painted. 
Last edited by JDM323; 06-12-2014 at 05:14 PM. |
|
|

|
|
|
#4 |
|
Senior Member
|
then came the time to retrofit the morimoto mini d2s projectors that had alredy been purchased http://www.theretrofitsource.com/pro...roducts_id=236
the h4 locators on the factory reflector had to be trimmed with a dremel as they are on an angle from factory, the projectors were then fitted, headlight re-assembled without front lens and fitted to the car for rotational alignment, once the cut offs were level the h4 adapter rings were bonded into place using an industrial 2 part adhesive designed for plastics. 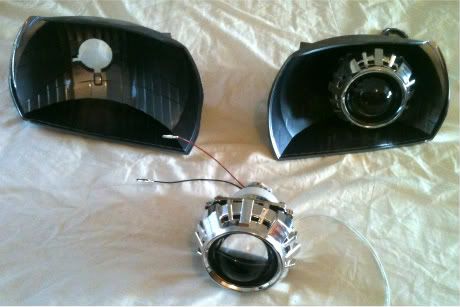 i lightly tinted the indicator lens then the lights then went back into a 70 degree celcius oven for 10 minutes to re seal the front lens. once done they were re fitted and the wiring finished 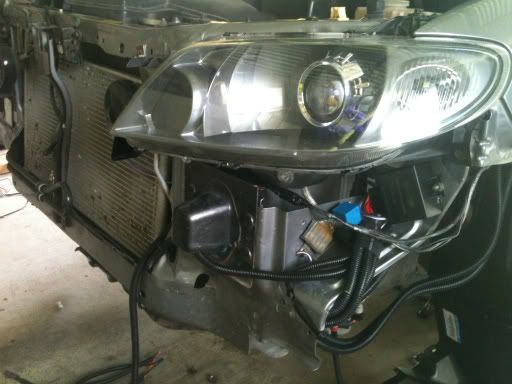
|
|
|

|
|
|
#5 |
|
Senior Member
|
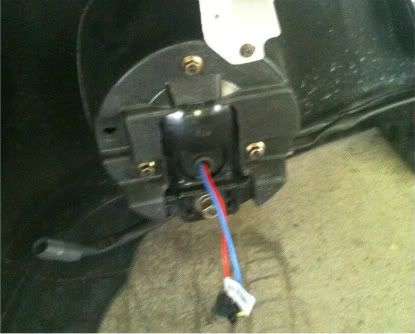
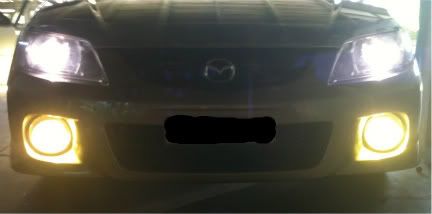
while the bar was off i fitted 3000k hid's to the fog lights and made a new fog light harness to go directly to the ballasts and ran the wiring on the body and re fitted the bumper using sag fix brackets instead of the nut+bolts i had been fighting with
  the tail lights were next for these the chrome rings were routered down as much as practical using jigs made from 38mm chipboard on a cnc machine, the lower lenses were also trimmed down and custom led assemblies fitted, the stop/tail was already led but in the center which was the indicator was fitted with an e-mark reflector the lenses were lightly tinted then the lights were re assembled and fitted to the car, at the same time i fitted led bulbs to the front indicators which required a pin swap on the plugs and load resistors wired in. the load resistors were fitted in the rear, 2 on each side keeping them out of the engine bay. 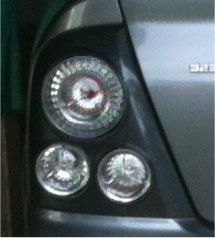 from this to this from this to this 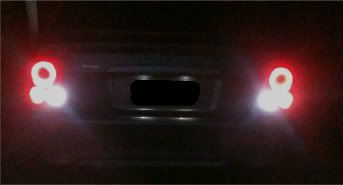  
Last edited by JDM323; 06-12-2014 at 05:17 PM. |
|
|

|
|
|
#6 |
|
Senior Member
|
some more pictures as it sits now
   
|
|
|

|
|
|
#7 |
|
Senior Member
|
fitted kn/kq laser wiper stalk then broke the left front inner door handle, got another from the wreckers but it was cracked so i removed the spring from the handle until i get a replacement set.
|
|
|

|
|
|
#8 |
|
Administrator
Join Date: Mar 2002
Location: melb.vic.au
Car: AZ-1, Astina Hardtop Turbo, BJ Protege, Beetle
Posts: 16,525
|
Certainly come a long way!

__________________
jdmparts.rupewrecht.com Sourcing your not-quite-overnight parts from Japan WRECHT--|--SLOWTEGE--|--BEETLE--|--SUBSTITUTE--|--AZ-1 |
|
|

|
|
|
#9 |
|
Senior Member
|
Last edited by JDM323; 06-12-2014 at 05:18 PM. |
|
|

|
|
|
#10 |
|
Senior Member
Join Date: Jun 2011
Location: Sunshine Coast
Car: MPS
Posts: 1,939
|
Has came a long way. Looking Mint!
|
|
|

|
|
|
#11 |
|
Senior Member
|
well done getting it back into such great shape, love the tail lights!
__________________
 To many of us, our cars are an extension of our own personalities, the way we choose to modify reflects this. |
|
|

|
|
|
#12 |
|
Senior Member
|
was handed my "lost" 2nd set of keys yesterday, they ended up in another car for almost 2 years and were found when they finally cleaned out their car.
so now i have 2 original transponder keys to program my flip keys from http://www.ebay.com.au/itm/150731949...84.m1438.l2649 i have already ordered 2 bt50 key blanks from mazda for the temic 8c transponder chips 
|
|
|

|
|
|
#13 |
|
Junior Member
Join Date: Jan 2012
Location: Sydney
Car: 2001 Mazda Astina 323
Posts: 95
|
Looking Good! Liking the Sp20 Kit.
|
|
|

|
|
|
#14 |
|
Moderator
Join Date: Oct 2005
Location: Ipswich, Queensland
Car: 2002 Mazda Astina SP20 2006 Mazda 6 GY Wagon
Posts: 9,769
|
From what it was to what it is now, thats a huge difference, nice work!
 The MX5 rims remind me of the MP3 wheels found on the Protege in the US, just needs to be a tad lower to pull the look off 
__________________
 ![[URL="http://www.astinagt.com/forums/vbpicgallery.php?do=view&g=590"]](image.php?u=1216&type=sigpic&dateline=1355019352) |
|
|

|
|
|
#16 |
|
Banned
Join Date: May 2006
Location: Brisneyland, Queensland
Car: 2002 Mazda Frankenstina
Posts: 2,868
|
I have a set that are beyond cheap, they have 20-25K use.
Please buy them, I would love to get my car back on the road sooner! |
|
|

|
|
|
#17 |
|
Banned
Join Date: May 2006
Location: Brisneyland, Queensland
Car: 2002 Mazda Frankenstina
Posts: 2,868
|
Ohh well, I was offering a set of springs cheap, they can't exactly wear out.
As I said only have 20 K use and I have only upgraded as I have the MSF engine now. I will also throw in the set of pedders front shocks for free! BTW I will wipe the springs clean so they have been 'reconditioned' |
|
|

|
|
|
#18 |
|
Senior Member
|
pulled my headlights apart today as the tinted indicators were too dark for my liking and after a bit of work i am now happy with the look and performance
 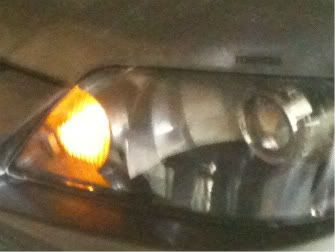  sorry about the phone pics. Last edited by JDM323; 18-02-2012 at 05:08 PM. |
|
|

|
|
|
#19 |
|
Senior Member
 Join Date: Dec 2011
Location: Adelaide
Car: 2000 Mazda BJI Protege
Posts: 878
|
Looks awesome! Surely a great way to restore a crashed Protege! Has come a very long way since then, well done mate!

__________________
 2010-2014: 2000 Mazda 323 Protege 2014 - 2016: 1991 Toyota MR2 SW20 2016 - Err, 2016: 2002 Mazda 323 Astina SP20 2016 - Err, uh, 2016: 1991 Mazda MX5 NA 2016 - 2017: 2000 Alfa 916 Spider 2017 - 2018: 2007 Alfa Brera 2018 - Current: 2018 Mazda 3 SP25 |
|
|

|
|
|
#20 |
|
Senior Member
Join Date: Feb 2010
Location: USA
Car: .
Posts: 2,623
|
is that a genuine mazda bonnet deflector guard or did you just put the mazda sticker on? I have a genuine canadian mazda one but it is smoke black instead of clear
__________________
Protege FAQ, the best 323/Protege/Mazda3 resource enjoyed worldwide for 10 years |
|
|

|
 |
|
|